Dakar (Fixed)
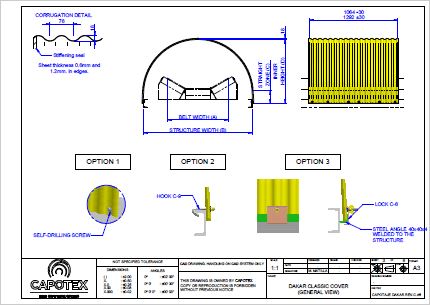
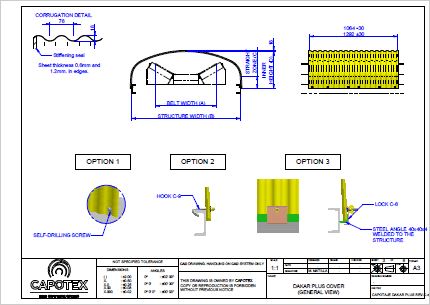
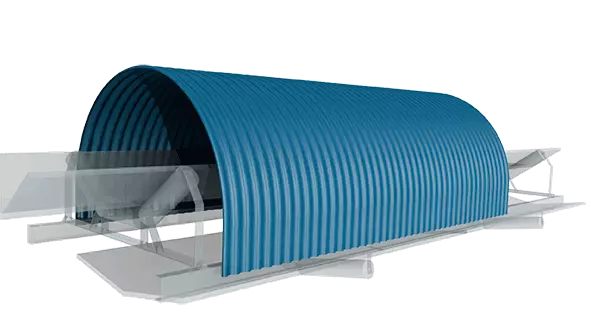
The Dakar cover is our most economical and competitive system. It cannot be hinged like the MADRID and PARIS models, but it is still dismountable and even easier to install. Simplicity is the strength of this type of cover.
- Completely closed: the cover covers 180º, up to the conveyor belt frame.
- Dismountable: the Dakar cover can be completely dismantled by loosening four screws, leaving the conveyor belt completely free. Without any structures or obstacles.
- Self-supporting: it does not require any structure to assembly.
- Quick simple installation: it adapts to practically all conveyor belts.
OPTIONS:
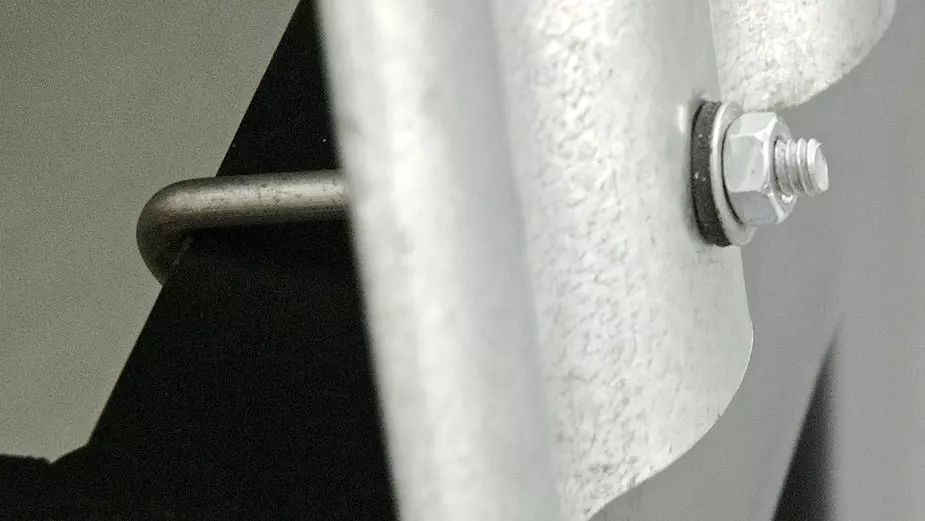
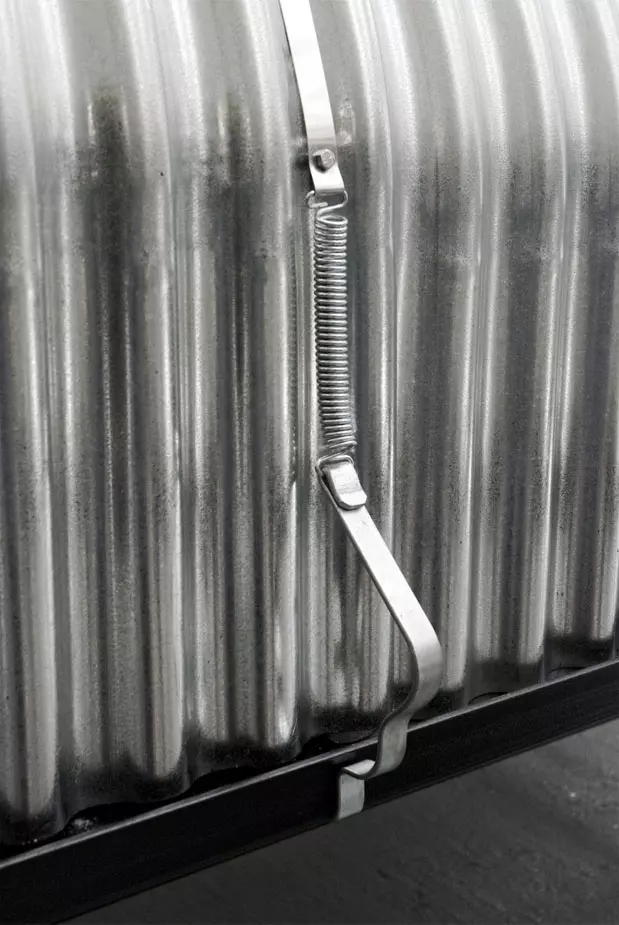
- C-4 Polyester belt: Install a 40 x 40-mm “T” profile on the hook side and a 40 x 40 steel angle on the washer side. Both along the entire length of the conveyor belt. Necessary tools: 10-mm drill and two 20-mm spanners.
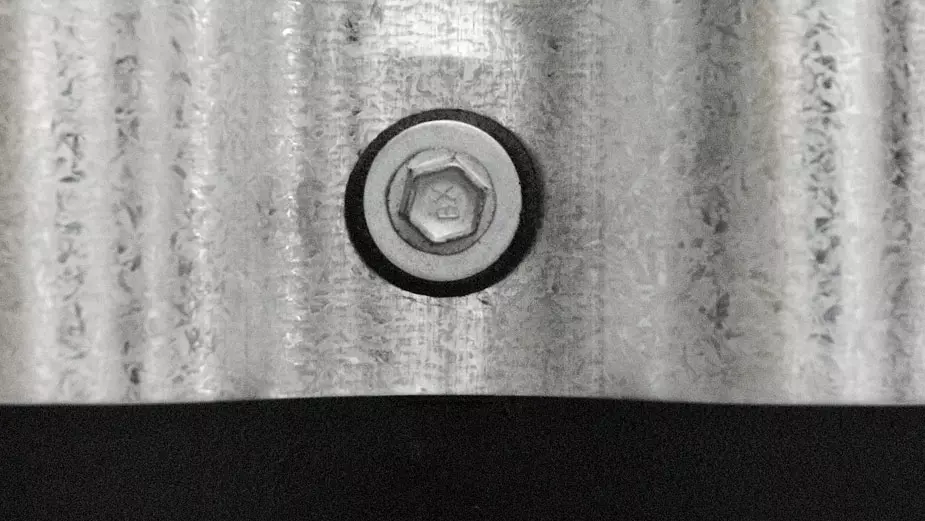
- C-5 Self-drilling screw: Directly screw the cover to the conveyor belt frame. It is recommended that 40 x 40-mm steel angles be installed on both sides of the conveyor belt. Necessary tools: Electric drill with 8-mm chuck.
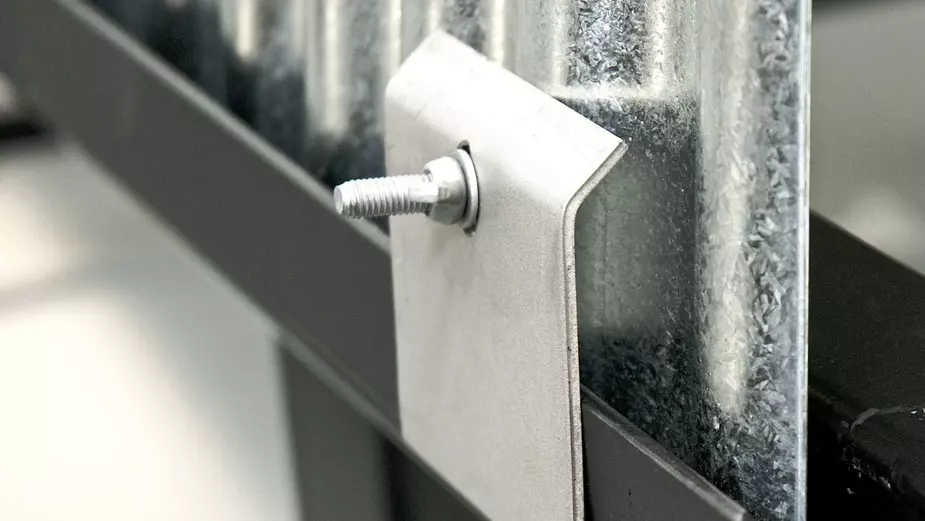
- C-6 Clamp:Install a 40 x 40-mm steel angle on both sides of the conveyor belt. Necessary tools: Two 13-mm spanners.
Pre-installation option. The steel angle and/or “T” profile can be workshop-installed, with subsequent onsite installation of the fixings.
Stop the conveyor belt before beginning to install the fixings.
Install the fixings alternatively up and down. Not all superposed in the way of roof tiles.
Use PPE (personal protection equipment) as required by law. CAPOTEX recommends the use of gloves, hardhat, safety boots and ear protection.
- Completely closed: the cover covers 180º, up to the conveyor belt frame.
Dismountable: the Dakar cover can be completely dismantled by loosening four screws, leaving the conveyor belt completely free. Without any structures or obstacles.
- Self-supporting: it does not require any structure to assembly.
- Quick simple installation: it adapts to practically all conveyor belts.
OPTIONS:
- C-4 Polyester belt: Install a 40 x 40-mm “T” profile on the hook side and a 40 x 40 steel angle on the washer side. Both along the entire length of the conveyor belt. Necessary tools: 10-mm drill and two 20-mm spanners.
- C-5 Self-drilling screw: Directly screw the cover to the conveyor belt frame. It is recommended that 40 x 40-mm steel angles be installed on both sides of the conveyor belt. Necessary tools: Electric drill with 8-mm chuck.
- C-6 Clamp:Install a 40 x 40-mm steel angle on both sides of the conveyor belt. Necessary tools: Two 13-mm spanners.
Pre-installation option. The steel angle and/or “T” profile can be workshop-installed, with subsequent onsite installation of the fixings.
Stop the conveyor belt before beginning to install the fixings.
Install the fixings alternatively up and down. Not all superposed in the way of roof tiles.
Use PPE (personal protection equipment) as required by law. CAPOTEX recommends the use of gloves, hardhat, safety boots and ear protection.
